Skip to content
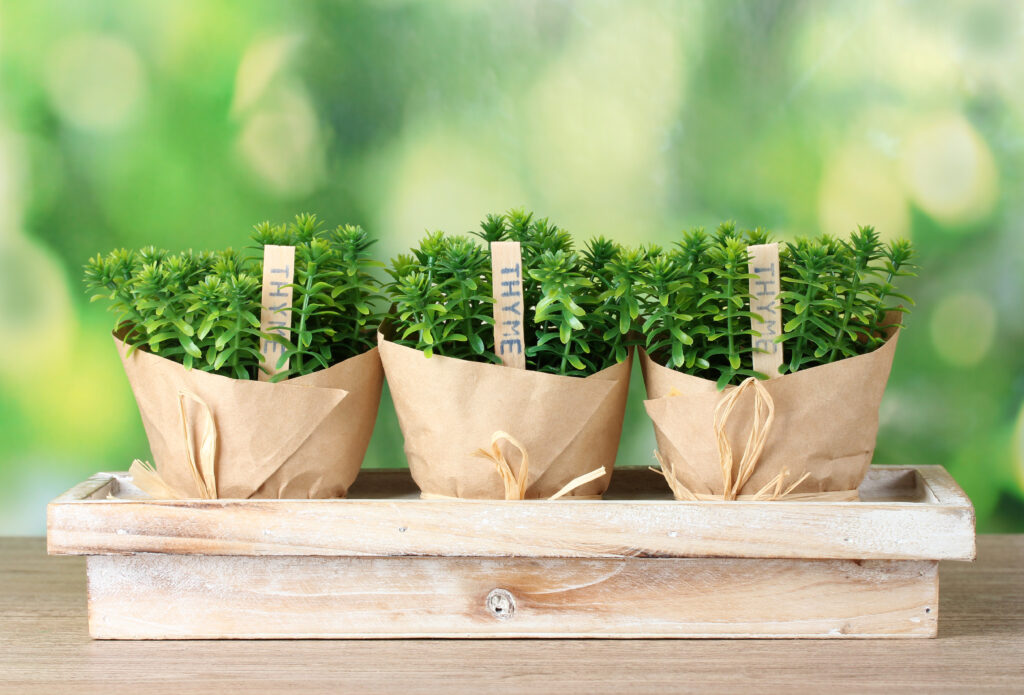
Starting an indoor herb garden from seeds is not only cost-effective but also incredibly rewarding. Whether you’re a cooking enthusiast or simply love the idea of growing your own fresh herbs, this guide will walk you through everything you need to know to create a thriving indoor herb garden from scratch.
Essential Supplies for Your Indoor Herb Garden
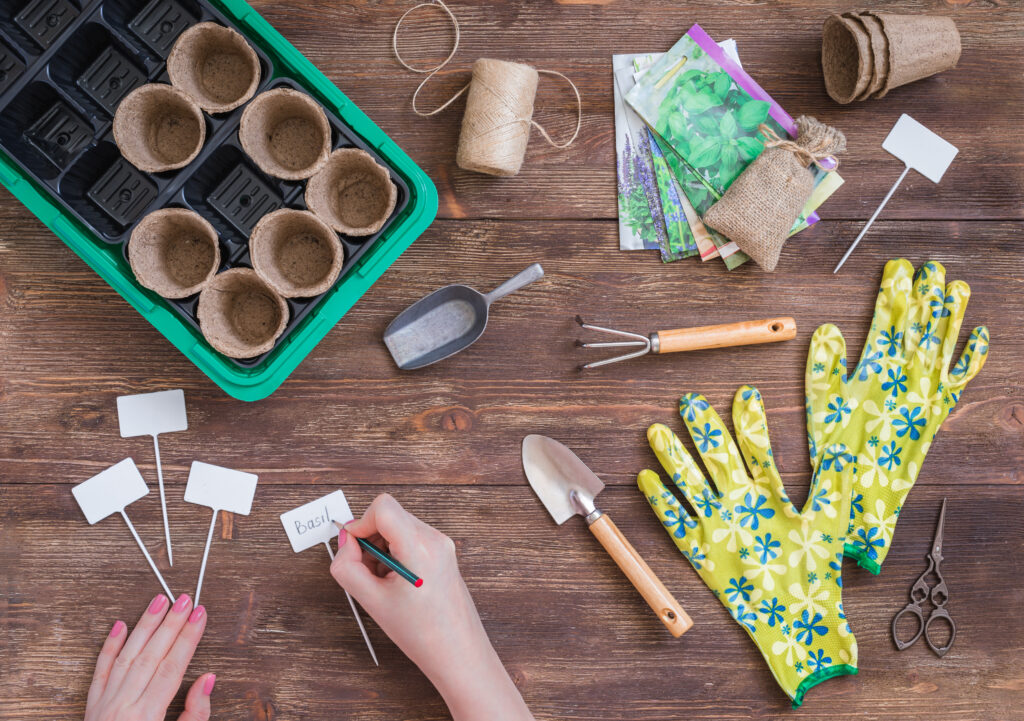
Before diving into the planting process, gather these fundamental supplies:
- High-quality organic herb seeds
- Seed starting mix or potting soil
- Small containers with drainage holes
- Plant markers
- Spray bottle for watering
- Clear plastic dome or plastic wrap
- LED grow light (optional for low-light areas)
Choosing the Right Herbs to Start From Seed
Not all herbs are created equal when it comes to indoor growing. Some herbs are particularly well-suited for indoor cultivation from seeds:
Easy-to-Grow Herbs for Beginners
- Basil: Ready to harvest in 6-8 weeks
- Cilantro: Germinates quickly in 7-10 days
- Parsley: Takes longer to germinate but very reliable
- Chives: Low-maintenance and long-lasting
- Mint: Vigorous grower (best in its own container)
Step-by-Step Seed Starting Process
- Prepare Your Containers Fill clean containers with pre-moistened seed starting mix, leaving about 1/2 inch of space at the top. Gently tap containers to settle the soil.
- Plant Your Seeds Create small indentations according to seed packet instructions (usually 1/4 inch deep). Place 2-3 seeds per container to ensure successful germination.
- Cover and Create Humidity Lightly cover seeds with soil, spray with water, and cover containers with plastic dome or wrap to maintain humidity.
- Provide Proper Light Place containers in a warm spot receiving indirect sunlight. Once seedlings emerge, ensure they get 6-8 hours of direct sunlight or use grow lights.
Essential Care Tips for Success
Temperature and Humidity
Maintain temperatures between 65-70°F (18-21°C) for optimal germination. Most herbs prefer humidity around 40-60%. Use a spray bottle to mist seedlings gently.
Watering Guidelines
- Keep soil consistently moist but never waterlogged
- Water from the bottom to encourage strong root growth
- Remove plastic covering once seedlings emerge
- Allow soil surface to dry slightly between waterings
Common Problems and Solutions
Problem: Leggy Seedlings
- Solution: Increase light exposure or move closer to light source
- Prevention: Rotate containers regularly for even growth
Problem: Damping Off
- Solution: Improve air circulation with a small fan
- Prevention: Avoid overwatering and overcrowding
Transitioning Seedlings
After 4-6 weeks, when seedlings have developed their second set of true leaves:
- Begin hardening off by reducing water slightly
- Thin to one plant per container
- Start fertilizing with diluted organic fertilizer
- Transplant to larger containers if needed
Harvesting Your Fresh Herbs
Start harvesting when plants reach 6-8 inches in height:
- Cut stems just above a leaf node
- Never remove more than 1/3 of the plant at once
- Harvest regularly to encourage bushier growth
- Pinch off flower buds to maintain leaf production
Long-Term Maintenance
For a continuous supply of fresh herbs:
- Start new seeds every 3-4 weeks
- Maintain proper light conditions
- Monitor for pest issues
- Prune regularly to prevent legginess
- Clean leaves periodically to remove dust
With proper care and attention, your indoor herb garden will provide fresh, flavorful herbs year-round. Remember that each herb has slightly different care requirements, so take time to learn about the specific needs of your chosen varieties. Starting herbs from seed allows you to experience the entire growing process and ensures you’ll always have fresh herbs on hand for cooking and garnishing.