

Creating a Mini Greenhouse: DIY Indoor Shelves for Plant Lovers
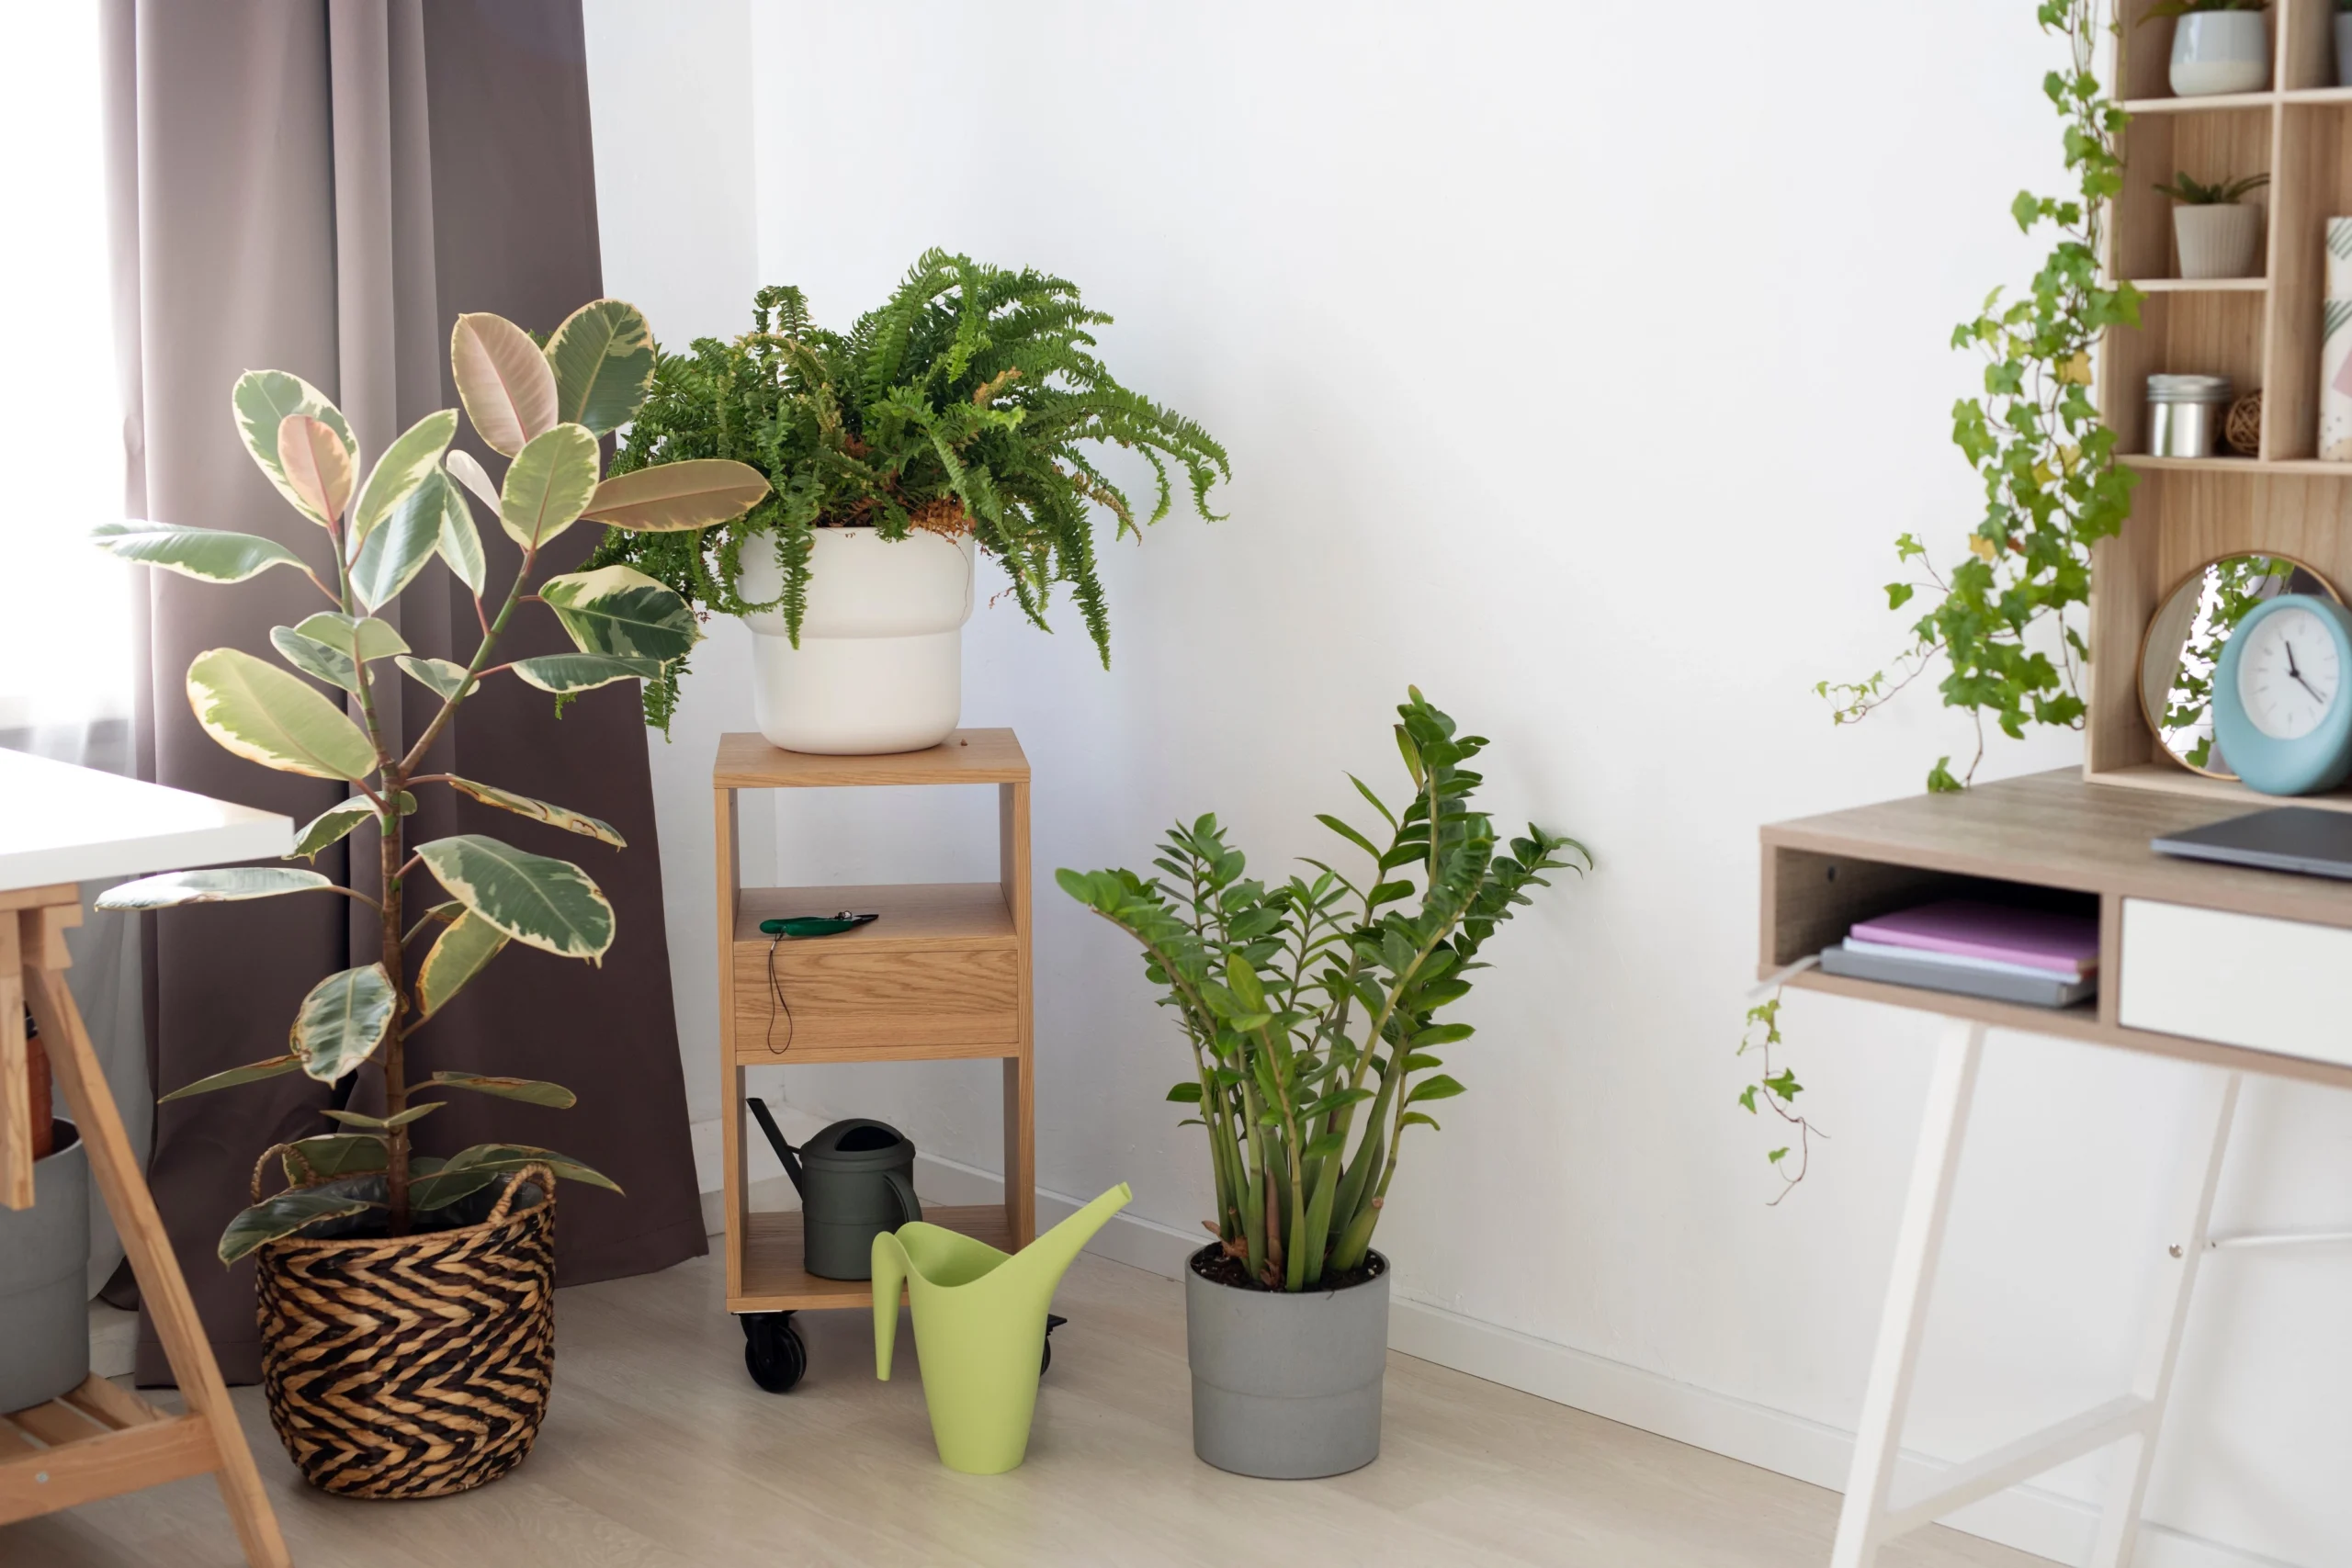
For plant enthusiasts, having a mini greenhouse indoors can be a game changer. It provides a controlled environment for your plants, allowing them to thrive year-round. Whether you’re nurturing seedlings, housing tropical plants, or simply showcasing your favorite greenery, a DIY mini greenhouse can enhance your indoor gardening experience. In this blog, we’ll guide you through creating DIY indoor shelves that function as a mini greenhouse, perfect for plant lovers of all levels.
Why Build a Mini Greenhouse?
A mini greenhouse offers numerous advantages:
- Controlled Environment: You can regulate temperature, humidity, and light, creating ideal conditions for plant growth.
- Space Efficiency: A compact indoor greenhouse allows you to maximize vertical space, making it suitable for apartments or small homes.
- Plant Protection: It helps shield delicate plants from drafts, pests, and temperature fluctuations.
Materials You’ll Need
Before diving into your DIY project, gather the necessary materials:
- Shelving Units: Choose metal or wooden shelves that are sturdy and can support the weight of your plants.
- Plastic Sheeting or Glass Panels: For covering the shelves, ensuring a greenhouse effect.
- Duct Tape or Clips: For securing the plastic sheeting.
- Lighting: Grow lights can help supplement natural light, especially in low-light areas.
- Thermometer and Hygrometer: To monitor temperature and humidity levels.
Step-by-Step Guide to Creating Your Mini Greenhouse
1. Select Your Location
Choose a spot in your home that receives ample natural light but isn’t subject to extreme temperature changes. A south-facing window is ideal, but you can also position your mini greenhouse near artificial light sources if necessary.
2. Choose Your Shelving Unit
Select a shelving unit that fits your space and aesthetic. Here are some options:
- Metal Shelves: Durable and easy to clean, perfect for a more industrial look.
- Wooden Shelves: Offer warmth and character, ideal for a cozy, rustic vibe.
- Tiered Plant Stands: Great for maximizing vertical space with an open design.
3. Assemble the Shelves
If your shelving unit requires assembly, follow the manufacturer’s instructions to put it together. Ensure it’s stable and can support the weight of your plants and any accessories.
4. Cover the Shelves
To create a greenhouse effect, cover the shelves with plastic sheeting or glass panels:
- Plastic Sheeting: Cut the plastic sheeting to size and drape it over the shelves, securing it with duct tape or clips at the edges. This is a cost-effective solution that allows for easy customization.
- Glass Panels: If you prefer a more polished look, consider using glass panels. Attach them securely to the shelving unit, ensuring proper ventilation.
5. Add Lighting
If natural light is limited, install grow lights to supplement. Position them above the shelves, ensuring they provide adequate coverage for all your plants. Choose full-spectrum LED grow lights for the best results.
6. Monitor Temperature and Humidity
Use a thermometer and hygrometer to monitor the conditions inside your mini greenhouse. Aim for a temperature between 65°F to 75°F (18°C to 24°C) and a humidity level around 50% to 70%. Adjust your ventilation and watering practices as needed.
7. Arrange Your Plants
Now comes the fun part! Arrange your plants on the shelves, considering the following:
- Light Requirements: Place light-loving plants at the top, where they’ll receive the most light, and shade-loving plants on lower shelves.
- Height Variation: Mix tall, medium, and short plants for a visually appealing display.
- Group by Needs: Group plants with similar water and humidity requirements together for easier care.
Tips for Maintaining Your Mini Greenhouse
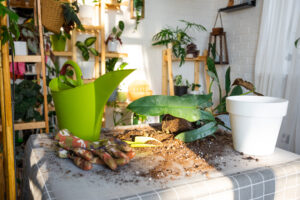
- Watering: Check moisture levels regularly and water your plants according to their needs. Be mindful of overwatering, as humidity can increase evaporation.
- Ventilation: Occasionally open the greenhouse cover to promote airflow and prevent mold growth. Consider adding small vents if using plastic sheeting.
- Pruning and Rotating: Regularly prune your plants to encourage growth and prevent overcrowding. Rotate them periodically for even light exposure.
Final Thoughts
Creating a DIY mini greenhouse with indoor shelves is an enjoyable project that can significantly enhance your indoor gardening experience. With a controlled environment, you can nurture a diverse range of plants, from delicate seedlings to vibrant houseplants. Embrace your creativity, customize your mini greenhouse to suit your style, and enjoy the benefits of gardening all year round. Happy planting!
Share :


About Us
We are passionate about creating beautiful, green spaces within our homes and sharing that enthusiasm with fellow plant lovers.
- 323 Valley Lane, Austin
- +1 (234) 567 890
- hello@myindoorgarden.co
About Us
We are passionate about creating beautiful, green spaces within our homes and sharing that enthusiasm with fellow plant lovers.
Categories
Copyright © 2024 Myindoorgarden. All Right Reserved.