Skip to content
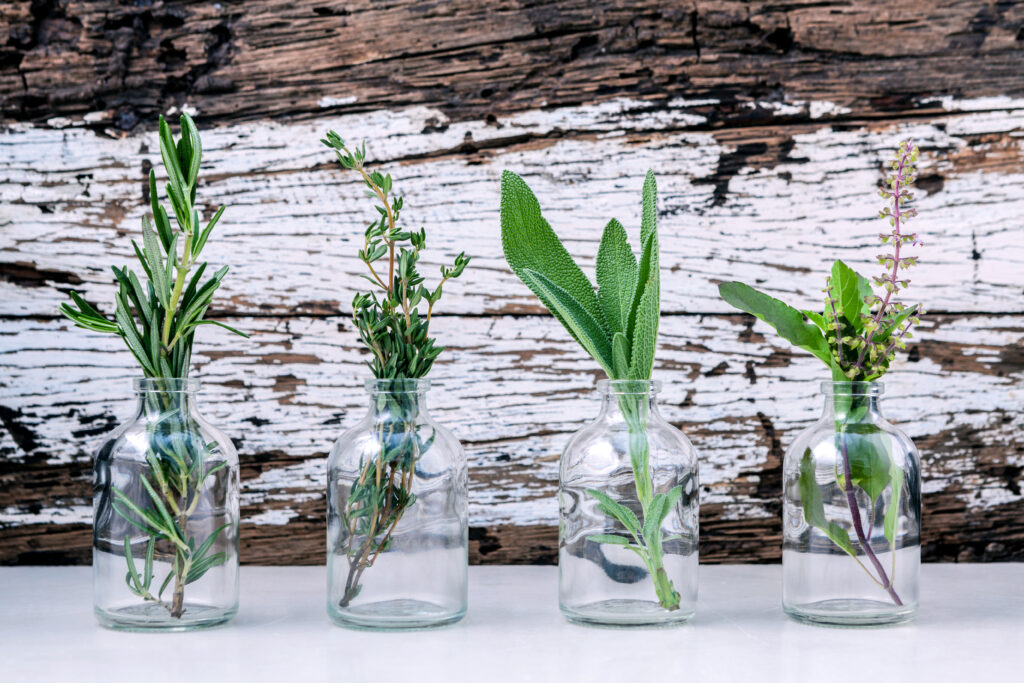
How to Grow Flavorful Mason Jar Herbs with Simple Supplies
Growing fresh herbs at home doesn’t have to be complicated or expensive. With just a mason jar, a bit of potting mix, and a sunny windowsill, you can cultivate mason jar herbs right in your kitchen. This DIY project is ideal for space-savvy gardeners, especially those living in apartments or homes without yards. And while it’s easy enough for beginners, experienced hobbyists can adapt advanced techniques—such as specialized substrates and refined humidity control—to get even better results.
Below, we’ll walk through the basics of setting up your mason jar herb garden, plus some pro tips to help your plants thrive. By the end, you’ll see how a simple glass container can yield fresh, aromatic herbs for all your favorite recipes.
Why Choose Mason Jar Herbs?
- Cost-Effective
- Mason jars are affordable and reusable, making this a budget-friendly project
- No fancy equipment or complex watering systems required
- Space-Saving
- Ideal for windowsills, kitchen counters, or any small nook
- Perfect for renters or anyone short on outdoor garden space
- Aesthetic Appeal
- Mason jars provide a charming, rustic look
- Visible roots and layers of substrate can be visually interesting
Advanced Techniques for Expert Growers
Specialized Substrates
- Combine standard potting soil with perlite or pumice for improved aeration
- Helps prevent waterlogged roots in a container without drainage holes
Exotic Plant Choices
- Explore unusual varieties like lemon basil, chocolate mint, or lime thyme
- These unique herbs offer distinctive flavors and colors
Refined Humidity Control
- Place a humidity tray or use a small mist sprayer to keep leaves from drying out
- Monitor moisture levels closely, as mason jars can trap moisture but also risk mold if overwatered
Step-by-Step DIY Mason Jar Herb Garden
- Gather Your Supplies
- Mason jars (preferably wide-mouthed)
- Pebbles or small stones (for a drainage layer)
- Quality potting mix blended with aerating materials
- Herb seeds or seedlings of your choice
- Create a Drainage Layer
- Put an inch or two of pebbles at the bottom to collect excess water
- Fill with Substrate
- Add your potting mix, leaving about an inch of space at the top
- Plant Your Herbs
- Sow seeds at the recommended depth or gently transplant seedlings
- Position in Proper Light
- Place near a window that receives at least 5–6 hours of sunlight daily
- Water Wisely
- Check moisture regularly and water sparingly to avoid root rot
Maintenance Tips
- Fertilizing: Use a diluted, water-soluble fertilizer once a month for continuous growth
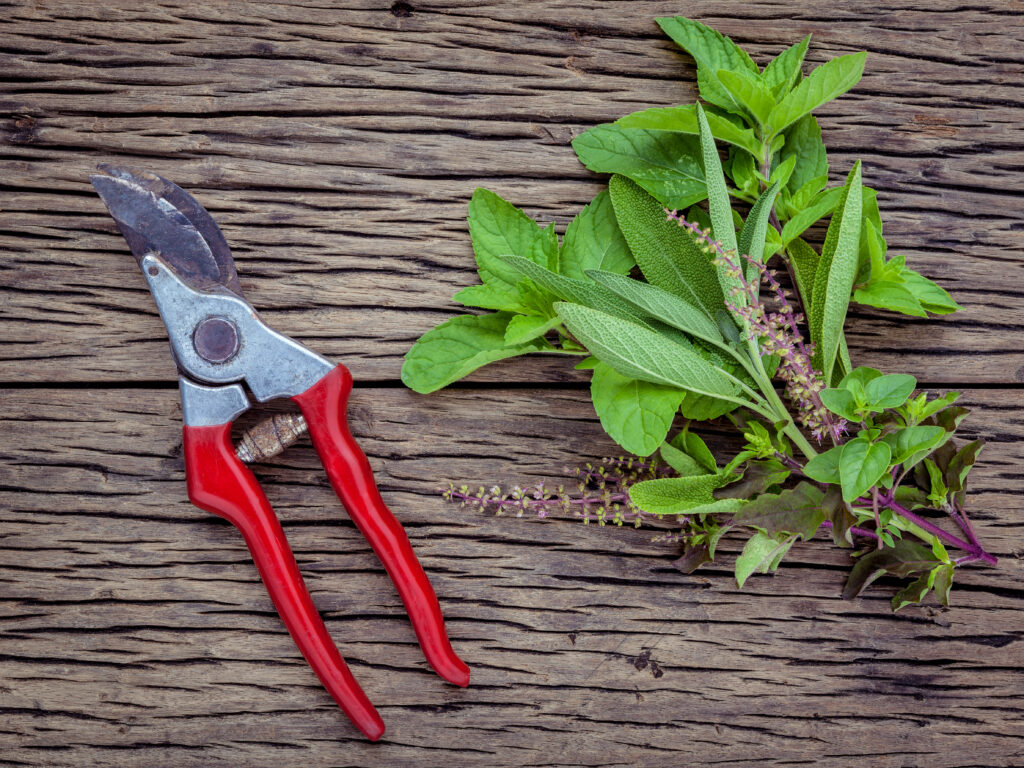
- Pruning: Snip back leaves to promote bushier plants and prevent flowering
- Pest Management: Inspect regularly for pests like aphids; treat with natural remedies or insecticidal soap
- Air Circulation: Open a nearby window occasionally to reduce mold risk inside the jar
From mason jar herbs brimming with classic basil to more adventurous varieties like lemon thyme, these simple setups prove you don’t need elaborate gear or acres of space to grow vibrant, flavorful plants. By mastering basic watering practices, picking the right substrate mix, and fine-tuning humidity levels, you can enjoy a mini herb garden that not only looks charming but also provides a steady supply of fresh leaves for your kitchen creations.